
When we deal with a Real-Time Location System (RTLS) the accuracy of the client position depends on the wireless design. We need at least 3 APs able to see the client at -62dBm RSSI to put an accurate position (2-3 meters). In an RTLS design, we position the APs around the perimeters of a building. For RTLS the APs need to know they are at the edge so they can do more accurate location services for the client within it. A downside is that a lot of signals propagate outside the building. And to keep the coverage specification within the building good we need to add more APs to the center of the building. Also, some vendors build extra antennae around the edge of the AP to measure the AOA (Angle of Arrival) the get a more accurate measurement of where the wireless client is on the map.
Often we not only want to track users but count the user per building, floor, or room level.
In this blog, I going to explain how we are able to count users per room. The title of this blog is called “How to Create zones in Spaces”, because, in a Cisco Wireless eco-system, it is using zoning to able to count users inside rooms.
The Environment
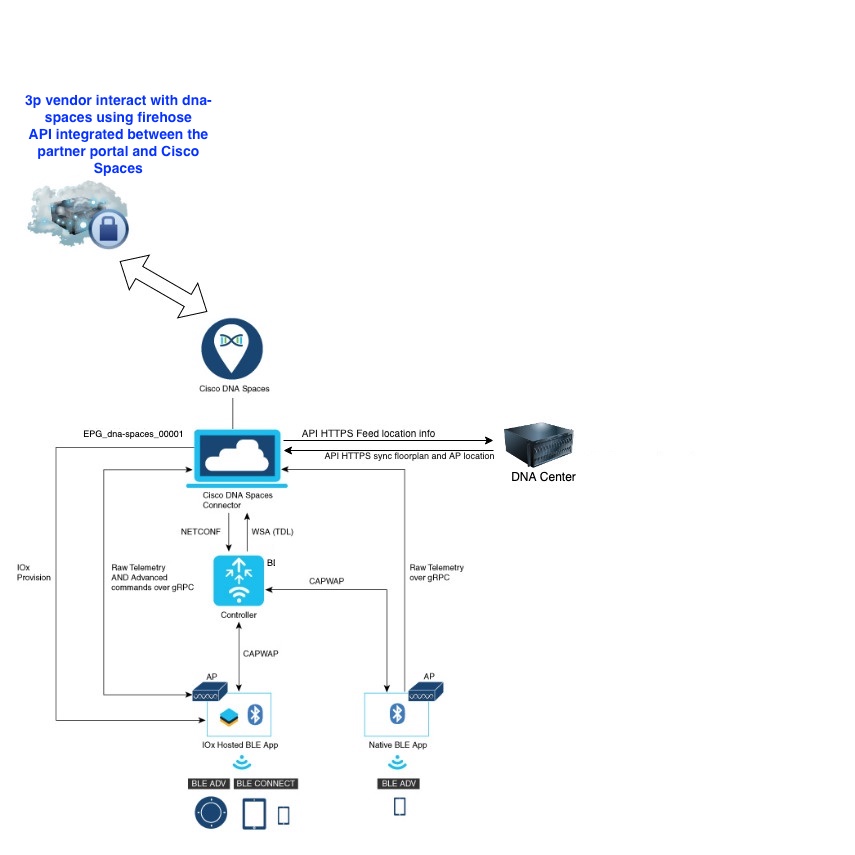
The setup is a production environment, with more than 50 small and large buildings connected. The information to Cisco Spaces is fed by the DNA-spaces connectors. The DNA-Spaces connectors have communication channels open with separate Wireless LAN Controllers 8540, Aironet 9800, and embedded 9800 WLC. DNA-Center (v 2.3.3.4) has a communication channel open with the Cisco Spaces to sync maps and pull in client location data.
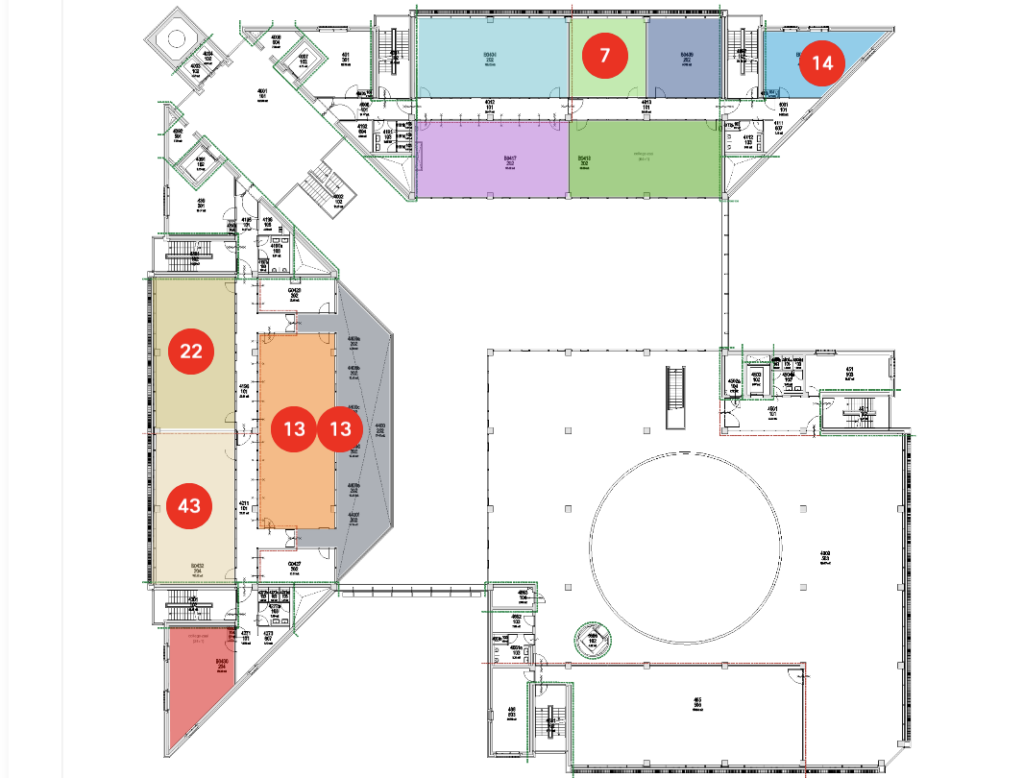
The Maps are already uploaded and de APs are placed in the right locations on the map.
Login to DNA Center
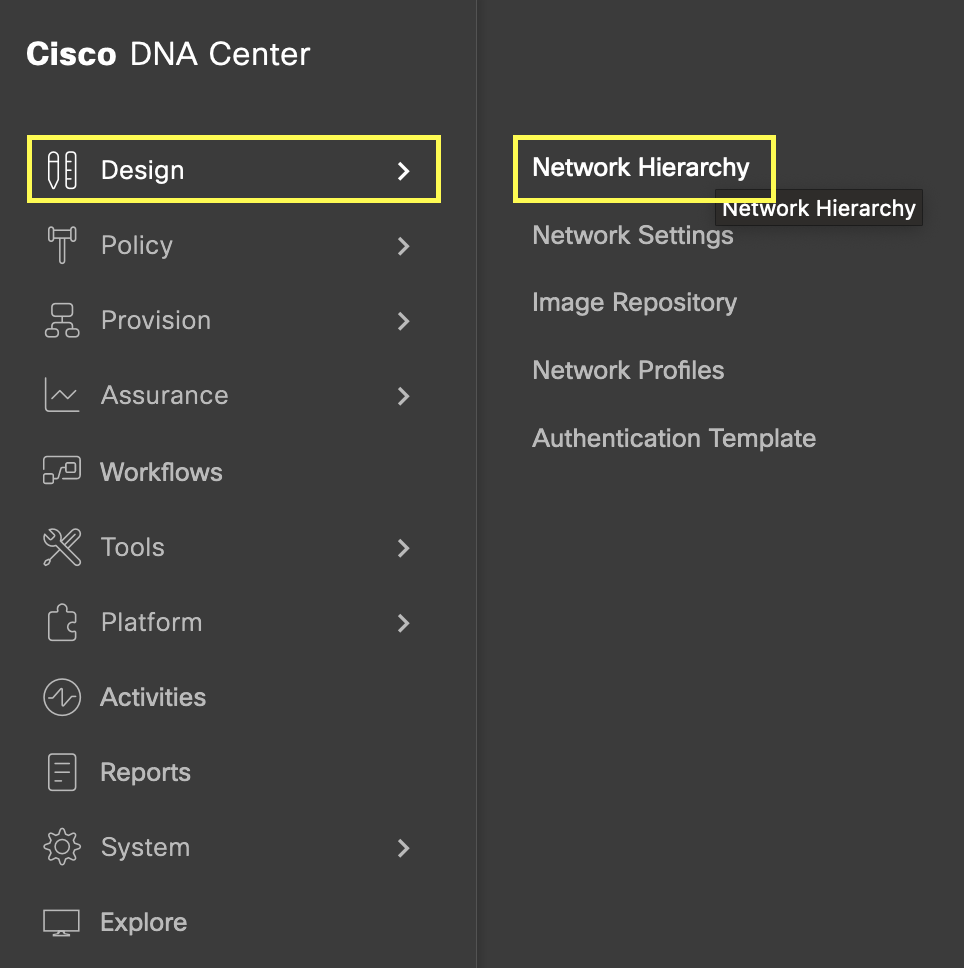
Click on the menu on the left top corner of the screen

Go to Design > Network Hierarchy
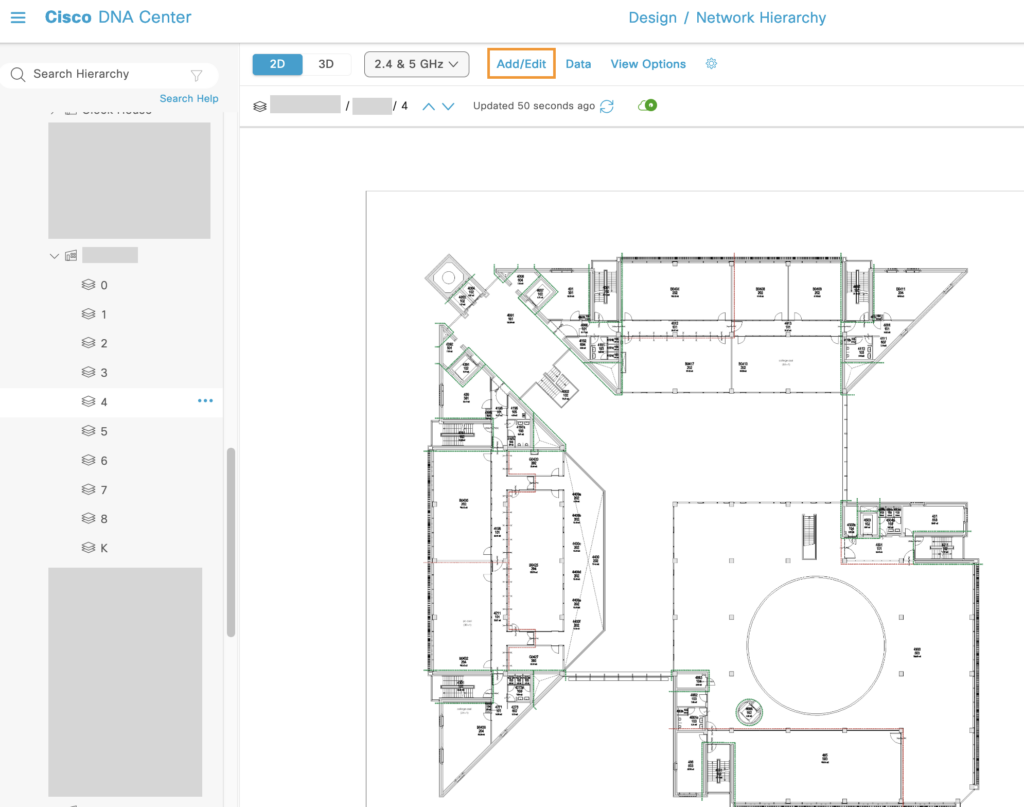
In the Hierarchy go to the Location > Building and click on the floor where you want to create zones.
On the Map go to Add/Edit
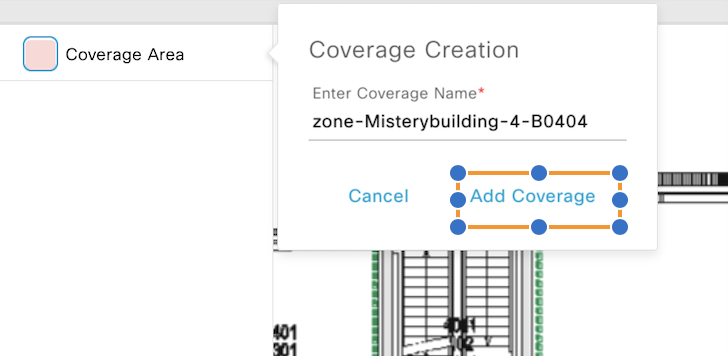
Select Coverage and select the Coverage icon below to give it a name
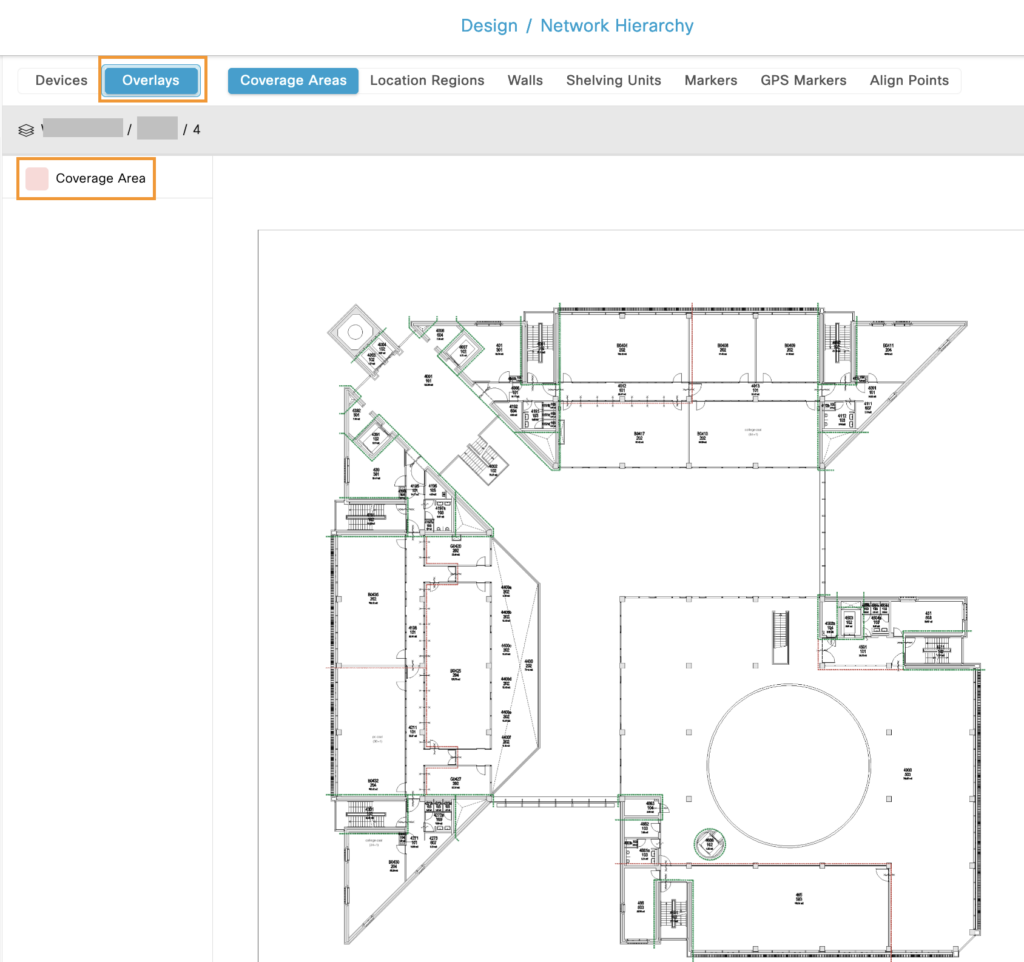
Give the zone a unique referencable name like zone (That you know it’s a zone later in reporting) the building name and the room number, sometimes the room number is not related to the floor so it’s good practice to add also the floor number of the zone.Something Like: zone-[building]-[floor]-[room].
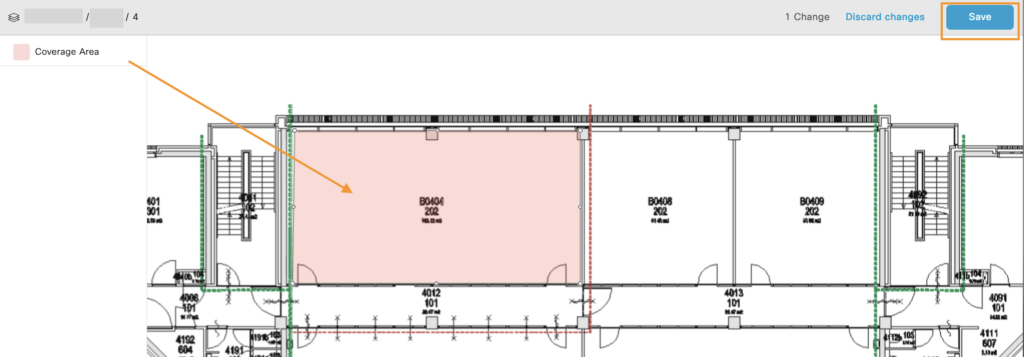
Right-click to close the drawing and then don’t forget to Save it !
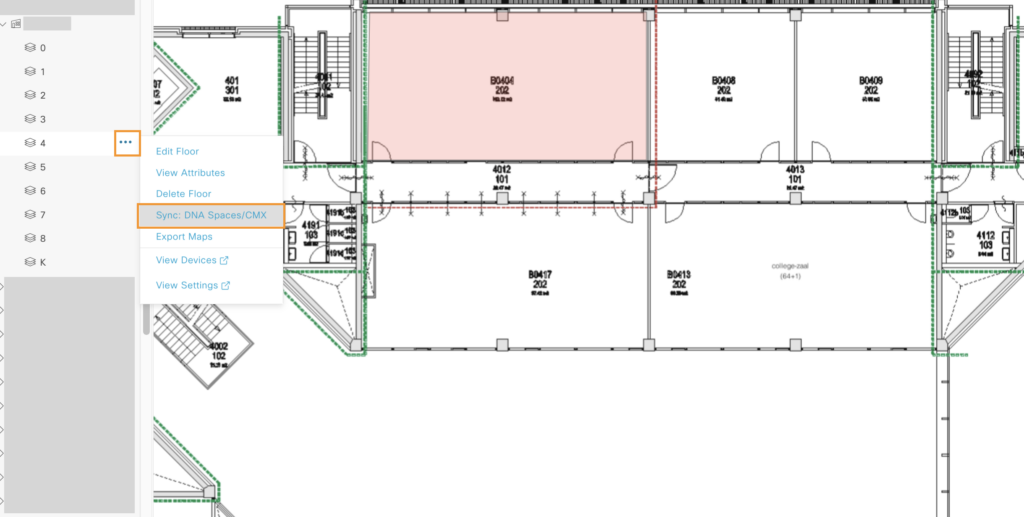
Now Sync the floor with Cisco Spaces go to the … menu on the floor and select Sync: DNA Spaces/CMX
Let’s verify if the zone is created in Cisco Spaces.
Log in to Cisco Spaces (formerly known as Cisco DNA Spaces).
Click on the menu in the left upper corner of the portal and go to Location Hierarchy.
Scroll down to the building and verify if the zone is there.
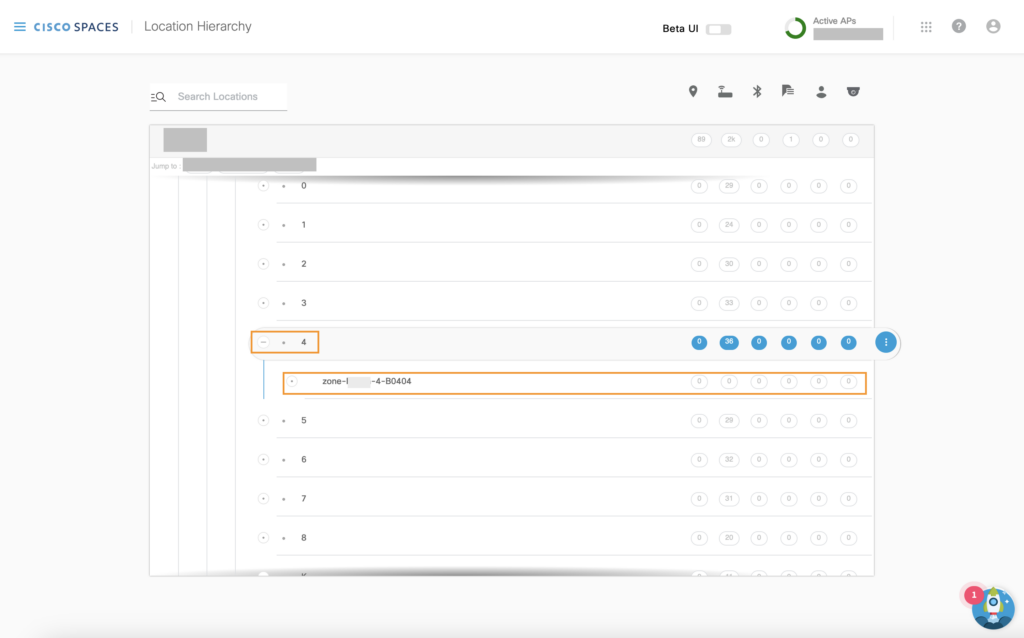
We can see it’s there, there are no APs associated with it, because this zone type uses X, and Y coordination related to the map.
Back in the day, Cisco had the option to add APs to a zone and the device count was based on the associated client to these APs.
But Cisco did not go forward with that solution so it’s deprecated. I can imagine they didn’t go forward, because it only works when having a very dense area where are 1 or more APs in a single room.
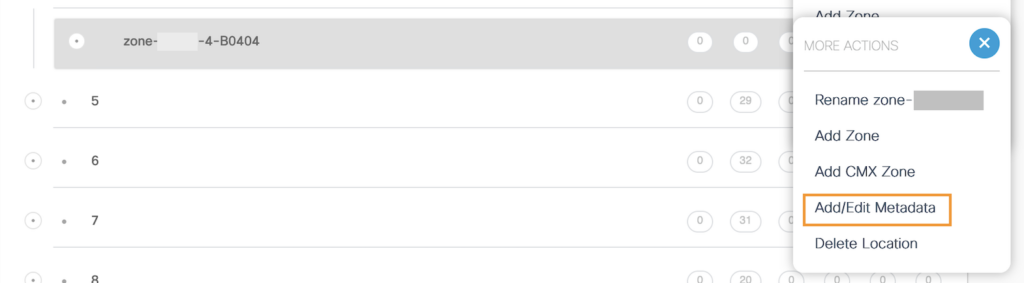
Add Extra data
On the zone we can now add metadata, that can be used by developers that interact with our Spaces.
It is possible to add multiple keys.

From DNA-Center we don’t have the option to add metadata so we need to add it from spaces. When resending the zones from DNA-Center to DNA-Spaces the metadata keys will stay intact.
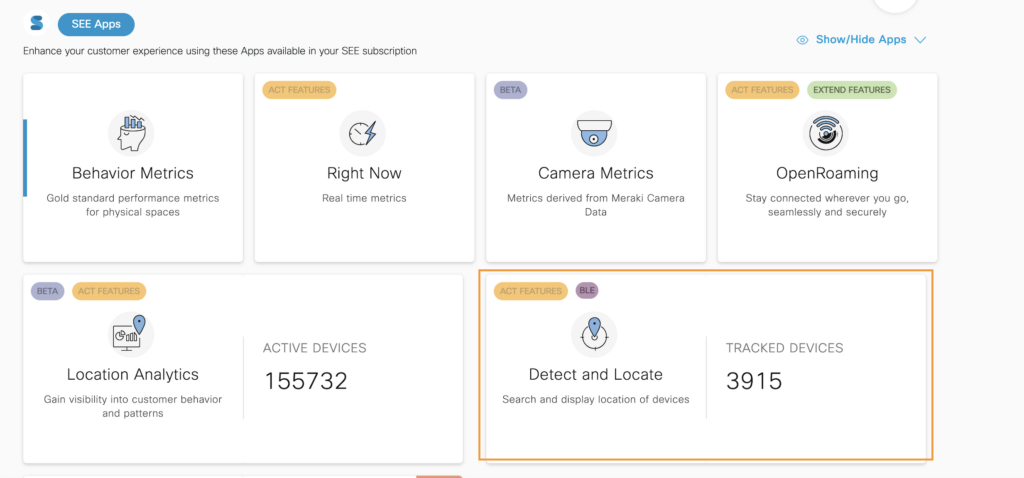
Let’s now verify how we see clients in this zone. Go to the main dashboard and select the Detect and Locate Tile
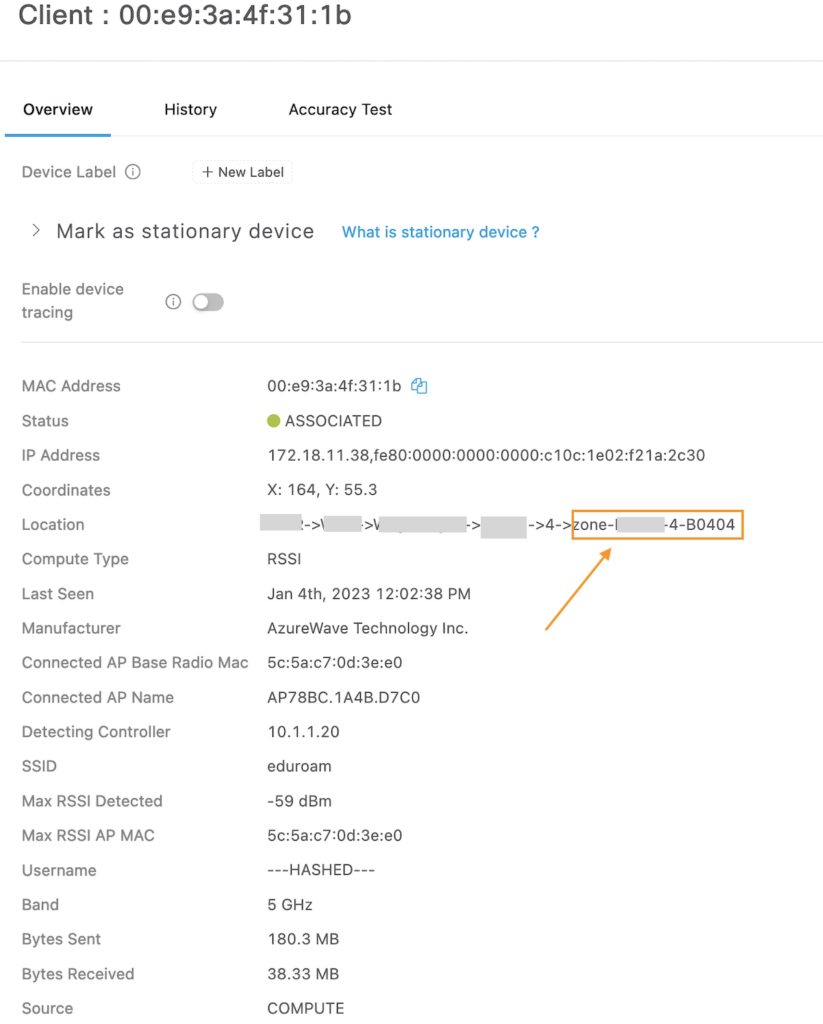
Select the building and the floor. Select the device (green dot) and look at the data path

We can see that at the Location value, the zone is now added.
If we now want to see real-time data for multiple zones at the same time, we have as of now two options.
Option 1:Use 3e party App to connect with and use their front end to see it.
Option 2:
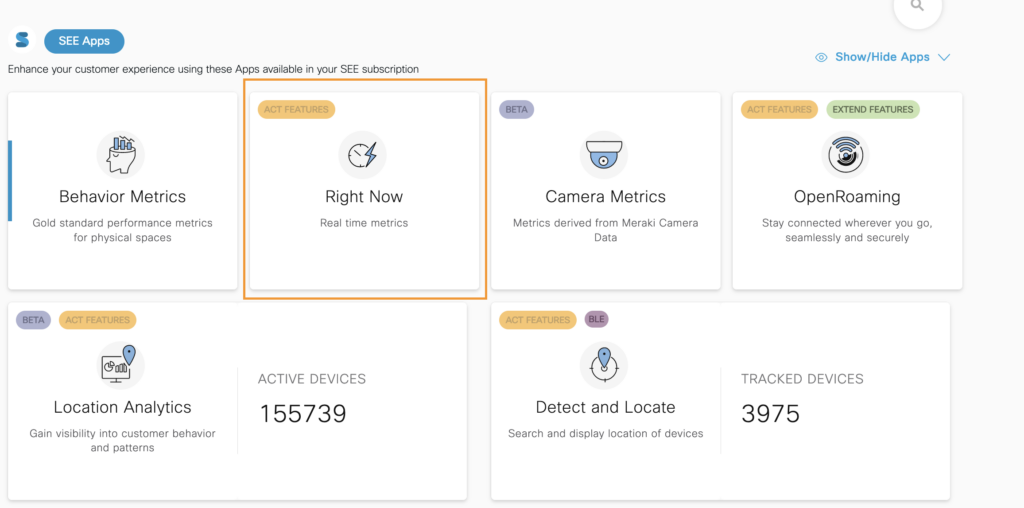
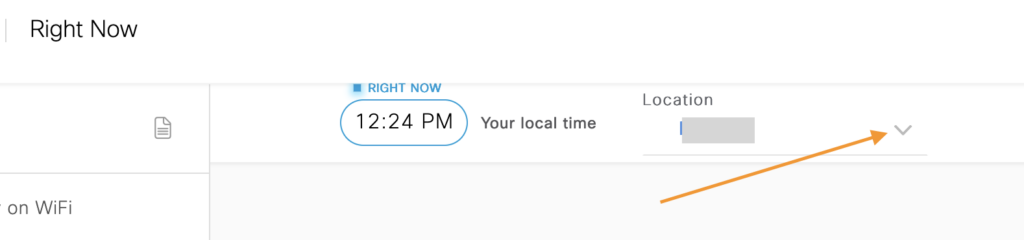
Inside Cisco Spaces, from the main dashboard, Go to RightNow Tile and select it.
From the location hierarchy selecting directly a zone is not possible, see note below.
Right now analytics are not available at the zone level.
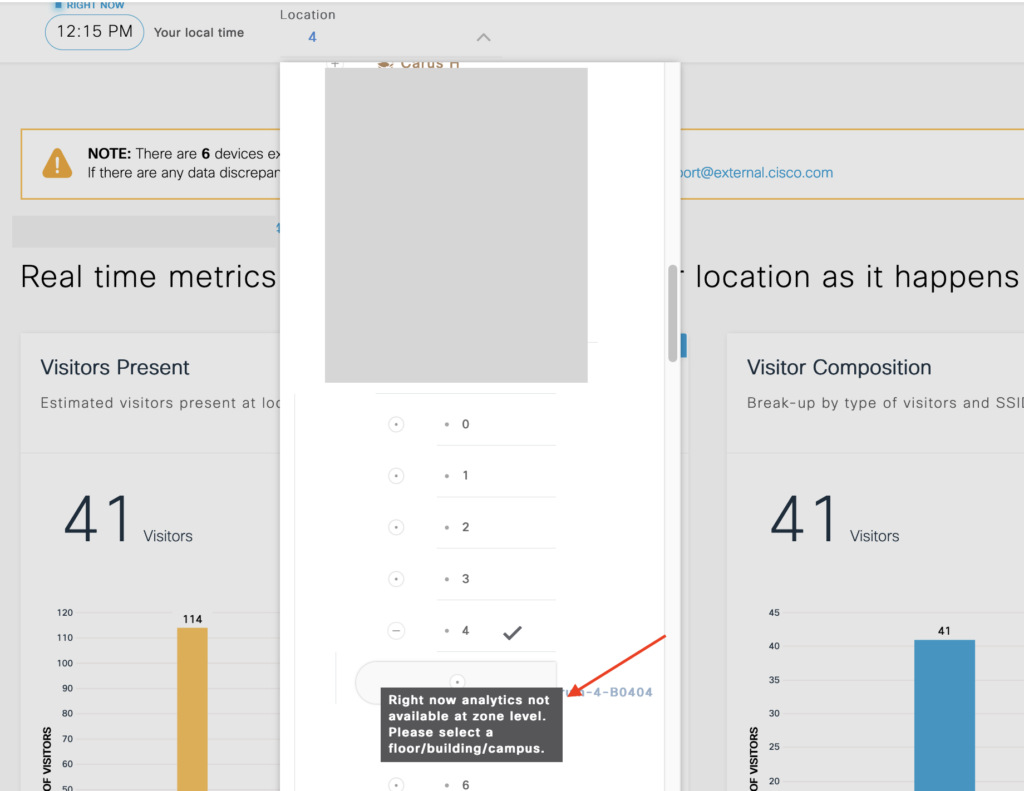
But if we select the building where we created this zone
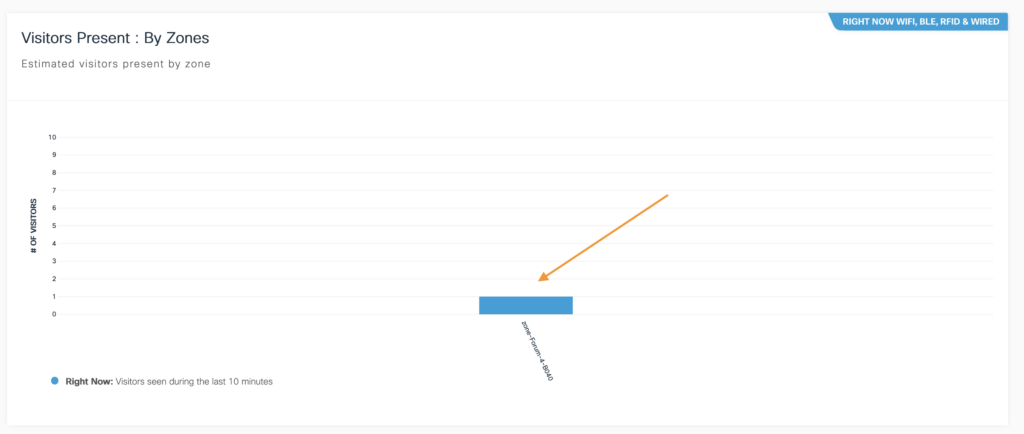
We can see under the Vistors present: By Zone pane the current active visitor per zone.
As well per floor.
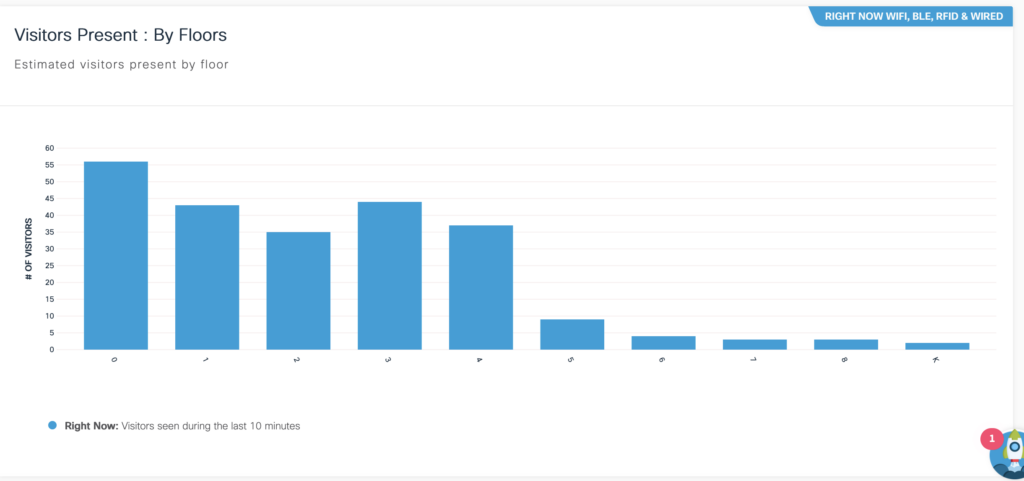
Visually too if we scroll further down:
Hope this gives you some information on how to create zones within Cisco Spaces (Formal Cisco DNA Spaces).
Imagine what you can do with this data when building traps on it. For example, send an email when people within a zoning increase by 50 people during an event or covid restriction era.
Counting on the D&L (Detect and locate) in Cisco Spaces is done per device. It also can include probing only clients that are not associated. The Right Now App is a subset of D&L and transforms devices that are associated with the user by de-doubling the associated username hash.
Goed verhaal!